Force Byte
How to Create a Document with Pictures in Word (3)

13 Photos

Last time, you learned how to change the size of a picture. Now, I am going to explain how to alter the position of a picture and set the text wrapping style.

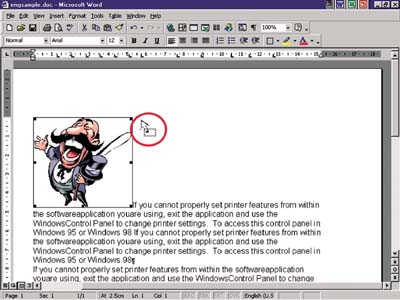
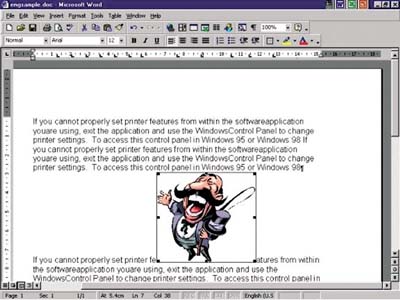
(1) Alter the position of a picture

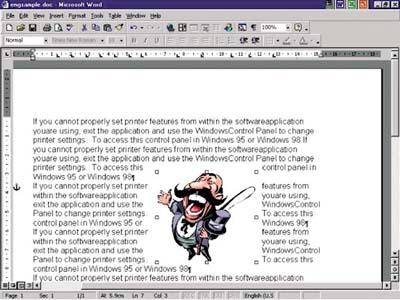
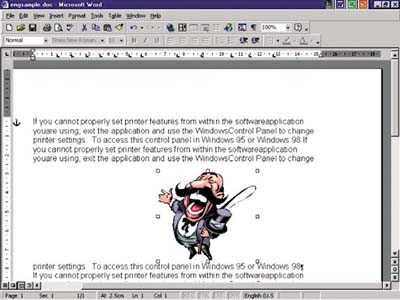
1.Click and hold the left mouse button on the picture that you would like to move, and simultaneously drag the cursor to the desired position.


2.Release the left mouse button. The picture is now moved to the new position as shown in the figure below.


(2) Set the text wrapping style

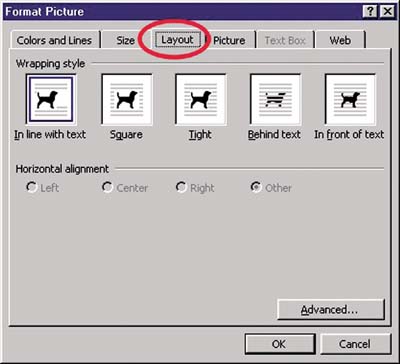
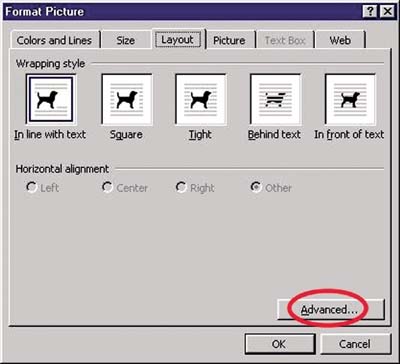
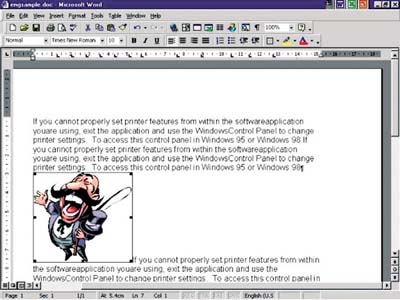
1.Place the cursor on the picture and left click the mouse twice.
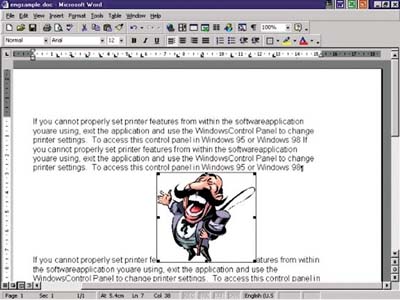
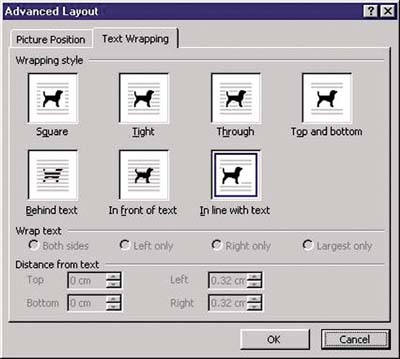
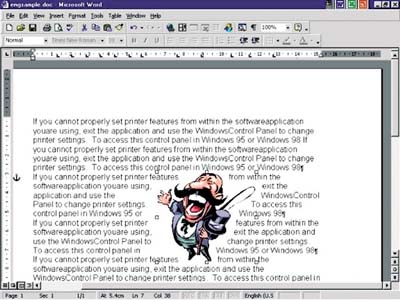
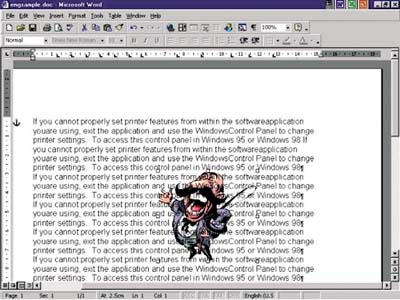
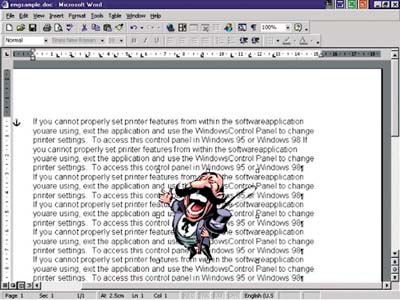
 

2. Choose "Layout" from the pop-up "Format Picture" dialogue box. Now there are five basic styles available for you to choose under the "Wrapping style" section.


3.If you want to get more wrapping styles, just click the "Advanced..." button.


4.The table below illustrates the various "wrapping styles" and their effects.

Wrapping styles

Square


Tight


Through


Top and bottom


Behind text


In front of text


In line with text


5. After you have chosen your target "wrapping style", just click "OK" to apply.

Next time, I will continue with the discussion of "Word Art" in Word. DON'T MISS A BYTE!

"Sharing IT as it applies to your daily life."
(E-mail address: ITB_ForceByte_Editor@police.gov.hk)


<<Back to Features>> <<Back to Top>>