Force Byte
How to Create a Document with Pictures in Word (6)

8 Photos

Occasionally you may need to insert text into a picture for illustration in your daily work. In this episode, I am going to introduce the"Text Box" function and explain how you can do so by it.

Inserting Text into a Picture

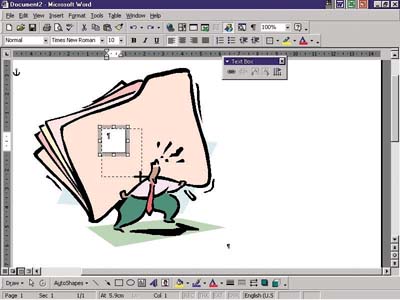
1. On the "Drawing" Toolbar, click "Text Box" button () and the mouse pointer will change to a cross.
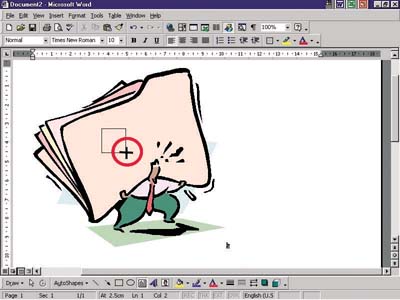
2. Drag the mouse diagonally while holding its left button down until the box is with the size you want.


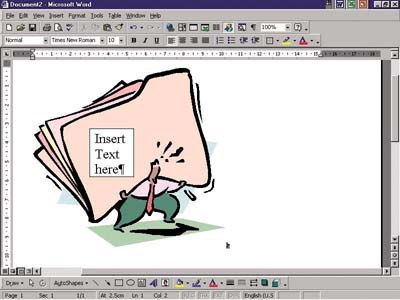
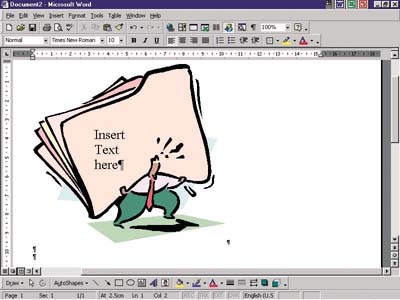
3. Input text into the box.


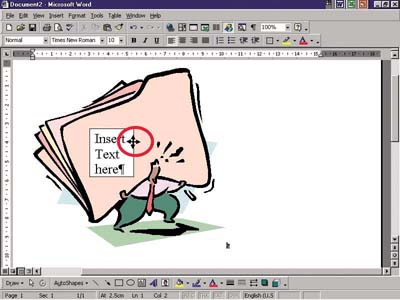
4. Point your mouse at the box's frame. After the mouse pointer has changed to a bi-directional cross, click its left button twice.


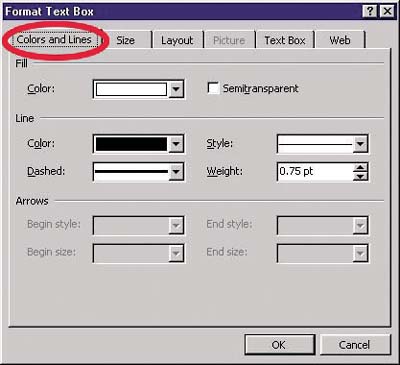
5. Select the "Colours and Lines" tab from the "Format Text Box" window displayed on the screen.


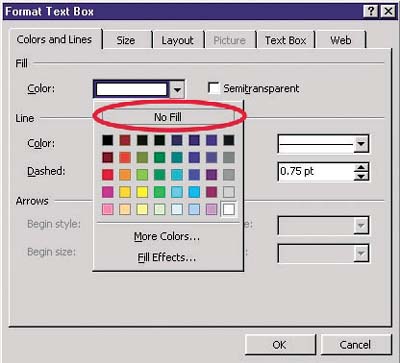
6. Press the button next to the "Colour" field under the "Fill" option. Select "No Fill" from the small window displayed.


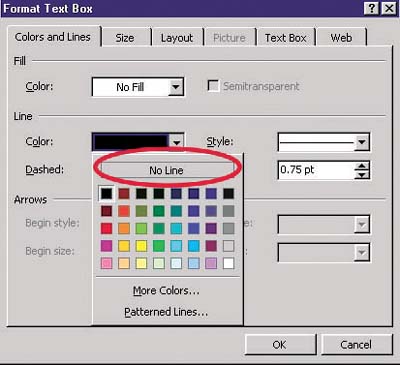
7. Press the button next to the "Colour" field under the "Line" option. Select "No Line" from the small window displayed.


8. Press the "OK" button to finish.


In the next episode, I will teach you how to create "Watermarks" in a Word document. Do look out for it !

"Sharing IT as it applies to your daily life."
(E-mail address: ITB_ForceByte_Editor@police.gov.hk)


<<Back to Features>> <<Back to Top>>